

A garbage disposal installation is one of those jobs that sits right at the edge of what most homeowners can handle. If you’re replacing an existing unit — same sink, same drain setup, existing electrical outlet already under the cabinet — this is a doable weekend project. If you’re installing a disposal where none existed before, or if there’s no outlet under your sink, you’re looking at a job that needs professional assessment before you commit.
This guide walks through the replacement workflow: removing an old disposal and installing a new one in the same location. I’ve done this three times in my own house, and the job takes about 45 minutes once you know the sequence. The hardest part isn’t the wrench work — it’s knowing when to stop and make a phone call.
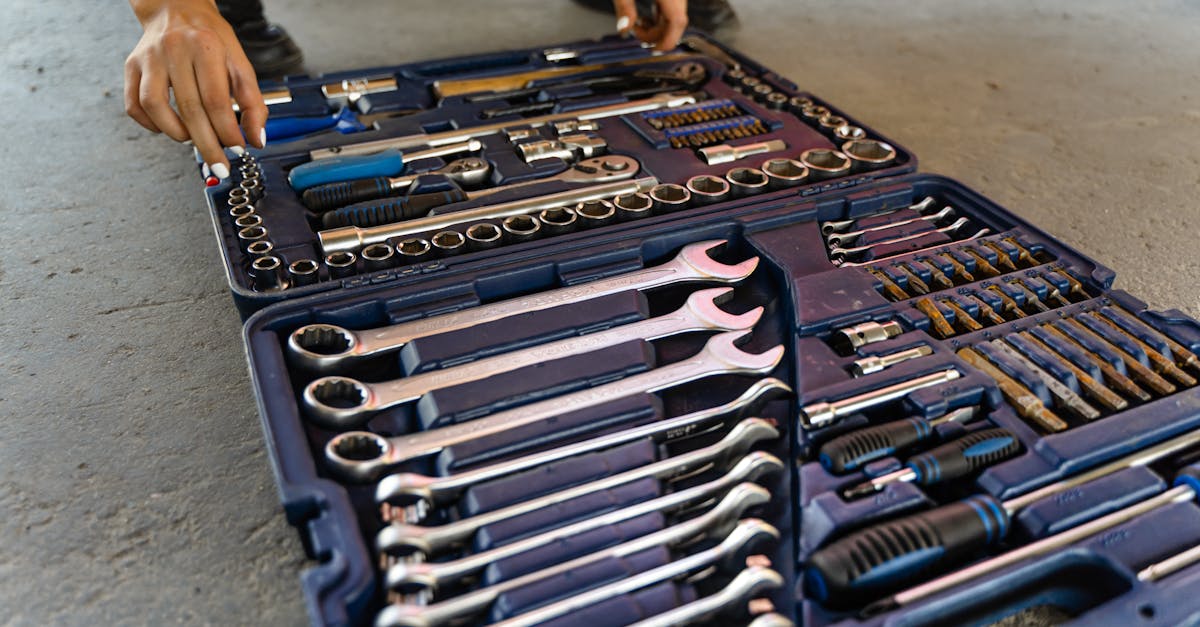
What you’ll need
Tools:
- Adjustable wrench (8–12 in.)
- Screwdriver set (Phillips and flat-head)
- Hex wrench or Allen key (usually included with new disposal)
- Flashlight or headlamp
- Bucket (for catching water)
- Putty knife (for scraping old sealant)
- Work gloves (leather recommended)
Materials:
- New garbage disposal unit (3/4–1 HP for most households)
- Plumber’s putty or silicone sealant (confirm compatibility with your sink material)
- Fiber gasket and backup ring (usually included with new unit)
- Drain coupling and rubber washer (check old unit’s outlet size first)
Prerequisites:
- Existing garbage disposal already installed (if this is a first-time install, see “When to call a professional” below)
- Electrical outlet under the sink (if absent, call an electrician first)
- Basic comfort working with plumbing connections
Before you start
Turn off the power. Flip the circuit breaker that controls the kitchen outlet. Don’t rely on just flipping the disposal switch to “off” — you need the breaker flipped. Verify power is off by attempting to turn on the disposal switch; nothing should happen.
Clear the cabinet. Remove everything under the sink so you have room to work and can see what you’re doing. Place a bucket directly under the disposal and drain trap — water will spill when you disconnect things, and that’s normal.
Safety check: Wear eye protection. When you loosen the old disposal, bits of dried food and plastic can fall. Wear work gloves — the mounting hardware has sharp edges.
Do not attempt this job if you are uncomfortable identifying which circuit breaker controls your kitchen outlet, or if you have any hesitation about turning off power. Call a licensed electrician to confirm the circuit and outlet location first.
Step 1: Disconnect the old disposal
With the power off at the breaker, unplug the electrical cord from the outlet under the sink. If your disposal is hardwired (no plug, just wires entering a junction box), stop here and call an electrician. Hardwired units require different disconnect procedures and may not be legal in your jurisdiction for DIY work.
Hold the flashlight to see the underside of the sink flange where the disposal mounts. You’ll see a large metal mounting ring with three tabs or ears.
Step 2: Remove the old unit
Insert the hex wrench into one of the mounting tabs on the ring. Rotate counter-clockwise. The ring will loosen, and the disposal will start to drop — support it with your other hand or have someone hold it while you work the wrench.
Once the mounting ring releases, lower the old disposal carefully into the bucket. It weighs 10–15 pounds, so don’t let it drop.
Disconnect the drain line from the disposal’s outlet port. Loosen the coupling with your adjustable wrench. Water will spill into the bucket — this is expected.
Step 3: Clean the mounting area
Remove the rubber gasket, fiber gasket, and metal mounting ring from the underside of the sink opening. These parts stay with the old disposal, not the sink.
Use the putty knife to scrape away old plumber’s putty or silicone sealant from the sink flange (the metal ring visible from above, inside the sink). The surface needs to be clean and smooth for the new seal to work. I’ve seen leaks traced back to someone skipping this step and just pressing the new unit into old, dried-out putty.
Step 4: Prepare the new disposal
Unpack the new disposal and confirm all parts are present: fiber gasket, backup ring, mounting assembly, and discharge tube. Read the manufacturer’s instructions — some units have specific assembly sequences.
Check the electrical cord. If your old disposal had a cord and plug, the new one may not come with one pre-attached. You can reuse the old cord if it’s in good condition, or purchase a disposal power cord kit (about $12 at hardware stores). If you’re not comfortable wiring the cord to the disposal’s terminal block, call an electrician for this part.
Step 5: Install the sink flange and mounting assembly
Apply a bead of plumber’s putty around the underside of the new sink flange (the part that sits inside the sink drain opening, visible from above). If you have a stainless steel sink, use silicone sealant instead — putty can stain stainless over time.
Press the flange firmly into the sink opening from above. From below, slide the fiber gasket, then the backup ring, then the mounting ring onto the flange’s threaded base. Tighten the mounting screws evenly — one side, then the opposite side, alternating — until the assembly is snug. Hand-tight plus a quarter-turn is enough. Over-tightening can crack the sink.
Wipe away excess putty or sealant that squeezes out around the flange inside the sink.
Step 6: Attach the disposal to the mounting assembly
Lift the new disposal up to the mounting ring. Align the three mounting lugs on top of the disposal with the three slots in the mounting ring. Push up and rotate the disposal to the right (clockwise when looking up from below) until the lugs lock into the ring’s ears.
Insert the hex wrench into one of the mounting tabs and give it a quarter-turn clockwise to secure the disposal. The unit should feel stable and shouldn’t rotate when you tug gently.
Check clearance: there should be at least an inch of space between the disposal and any cabinet walls. If it’s too tight, the disposal may vibrate against the cabinet during use.
Step 7: Reconnect the drain and electrical

Attach the discharge tube from the disposal’s outlet to the drain line. Use a new rubber washer (included with most disposals) and tighten the coupling by hand, then add a quarter-turn with the wrench. Don’t over-tighten — the rubber washer does the sealing, not the metal threads.
Plug the electrical cord into the outlet under the sink. If you had to attach a new cord in Step 4, double-check that all wire connections inside the disposal’s terminal block are tight and that the strain-relief clamp is secure.
Step 8: Test for leaks
Leave the bucket under the disposal. Go to the breaker panel and flip the kitchen circuit breaker back on.
Fill the sink with 3–4 inches of cold water. Do not put your hand in the sink. Flip the disposal switch and let it run for about 5 seconds, then turn it off. Let the water drain completely.
Check under the sink for drips. Look at the flange seal (where the disposal meets the sink), the mounting ring, and the discharge tube coupling. If you see water, turn off the breaker again, tighten the leaking connection, and re-test.
Verify it worked
Run cold water and turn on the disposal for 10–15 seconds with no food in it. Listen for unusual vibration or rattling — the unit should hum steadily. Stop the disposal and let the water run for another 5 seconds to clear the drain.
Check under the sink one more time for leaks. If everything is dry and the disposal runs smoothly, the job is done.
Troubleshooting
Problem: Water leaks from the sink flange The plumber’s putty or silicone seal isn’t complete. Turn off the breaker, loosen the mounting assembly, remove the disposal, and reapply sealant. Make sure you’re using a continuous bead with no gaps.
Problem: Disposal hums but doesn’t grind Something is jamming the flywheel. Turn off the breaker. Insert the hex wrench into the bottom center of the disposal (most units have a manual crank socket there) and turn it back and forth to free the jam. Press the red reset button on the bottom of the unit, then try again.
Problem: Disposal won’t turn on at all Check that the breaker is on. Press the reset button on the bottom of the disposal — it may have tripped during installation. If it still won’t start, check that the electrical plug is fully seated in the outlet.
Problem: Water drains slowly The discharge tube may be misaligned or kinked. Check that the tube slopes downward toward the drain and that there are no tight bends. If the old drain line was a different diameter than the new disposal’s outlet, you may need a reducer coupling.
When to call a professional
Call a licensed plumber if:
- You are installing a disposal for the first time (no existing unit to replace) — drain routing and sink compatibility need professional assessment
- The existing drain pipes are corroded, cracked, or show water damage
- You are unsure which shutoff valve controls the hot water line to the disposal
- The new disposal doesn’t fit in the available cabinet space without modification
- You see any signs of a leak after installation that you can’t trace to a specific connection
Call a licensed electrician if:
- There is no electrical outlet under the sink
- Your old disposal was hardwired (no plug) and you need to install a new hardwired unit
- You are uncertain which breaker controls the kitchen outlet, or the breaker won’t stay in the “on” position after you flip it
- Local code requires GFCI protection and your outlet doesn’t have it
Garbage disposal installation sits at the boundary of plumbing and electrical work. If you have any hesitation about either part, the cost of a professional consultation ($150–250 for both trades to assess and install) is cheaper than fixing a flood or an electrical fault.
FAQ
How long does a garbage disposal typically last?
Most garbage disposals last 8–15 years depending on use and maintenance. Units that grind daily in a busy household wear faster than those used a few times per week. Regular cleaning and avoiding hard materials (bones, shells) extends the lifespan. If your disposal is more than 10 years old and starting to leak or jam frequently, replacement is usually more cost-effective than repeated repairs.
What’s the difference between continuous-feed and batch-feed disposals?
Continuous-feed disposals activate with a wall switch and let you add food scraps while the unit runs — this is the most common type in residential kitchens. Batch-feed disposals require you to load the food, insert a stopper-lid, and twist it to start the motor. Batch-feed models are safer (no risk of accidental activation) but slower and less convenient for daily use.
Can I install a disposal if I have a septic system?
Yes, but check with your septic system installer or a local plumber first. Garbage disposals add organic load to septic tanks, which can require more frequent pumping. Some older or undersized septic systems aren’t rated for disposal use. If your system can handle it, use the disposal sparingly and avoid fibrous or starchy foods that break down slowly.
What should I never put down a garbage disposal?
Avoid bones, shellfish shells, corn husks, celery stalks, potato peels in large quantities, coffee grounds, grease, and anything non-food. These materials either dull the blades, wrap around the flywheel, or contribute to clogs downstream. When in doubt, compost it or trash it instead.
How much water should I run while using the disposal?
Run cold water (not hot) for the entire time the disposal is grinding, and continue running it for 5–10 seconds after you turn the disposal off. Cold water keeps grease solid so it can be chopped and flushed, whereas hot water melts grease and lets it re-solidify in your drain pipes. Use enough water that it flows freely down the drain — a trickle isn’t sufficient.
The key to a successful garbage disposal installation is knowing your limits. Replacing an existing unit is a straightforward job if you’re comfortable with basic plumbing and can safely work around electricity. But if this is your first disposal, or if the electrical setup isn’t clear, bring in a professional to assess before you start. I’ve replaced three disposals in my own house and called a plumber once — when I opened the cabinet and saw corroded drain pipes that needed replacement before the new disposal could go in. That call saved me from a weekend flood.
For ongoing care after installation, see garbage disposal maintenance and cleaning to keep your new unit running smoothly. If you’re tackling other kitchen plumbing jobs, how to fix a leaky kitchen faucet and kitchen sink drain clogs causes and fixes cover the most common issues you’ll run into. And if you’re reorganizing under the sink to make room for the disposal, under sink cabinet organization has storage ideas that work around plumbing.